Hokkaido Milk Bread: Fluffy, Soft, and Delicious

Are you looking for a new delicious and easy bread recipe? Look no further than Hokkaido Milk Bread! This Japanese staple is known for its incredibly soft texture and subtle sweetness, making it a perfect choice for breakfast, snacks, or desserts.
In this guide, we’ll walk you through everything you need about the Hokkaido Milk Bread recipe, from gathering ingredients to achieving that perfect fluffy crumb. We’ll also cover common baking problems and troubleshooting tips so you can confidently bake and impress your friends and family.
Get ready to experience the magic of Hokkaido Milk Bread—it’s easier than you think!
Hokkaido Milk Bread: From Humble Beginnings to Global Phenomenon

If you plan on travelling to Japan, you must consider tasting the Japanese milk bread. Hokkaido Milk Bread, known as Shokupan, boasts a surprisingly humble origin. In the early 1900s, Japanese bakeries sought to create bread that catered to the unique tastes of their customers. Inspired by Western-style loaves of bread but seeking a softer texture and milder flavour, they incorporated Hokkaido’s milk, known for its richness and sweetness.
This simple yet innovative recipe quickly gained popularity in Hokkaido, eventually spreading throughout Japan and captivating the world with its fluffy, cloud-like texture and irresistible flavour. Today, Hokkaido Milk Bread is a testament to culinary creativity’s transformative power, evolving from a regional speciality to a beloved global phenomenon.
The Hokkaido Milk Bread Recipe Secret Ingredient
The key to Hokkaido Milk Bread’s cloud-like texture is a special ingredient called Tangzhong. This Japanese roux, made by pre-cooking a small portion of flour and water, is crucial in maximising moisture retention and achieving that sought-after fluffy crumb.
What is Tangzhong?
Tangzhong is more than just a simple roux. When flour is heated in water above 65°C (149°F), the starch molecules within the flour gelatinise. This process alters the structure of starch, creating a gel-like network that traps moisture and prevents it from evaporating during baking. This trapped moisture contributes to the bread’s remarkable softness and extended shelf life.
Furthermore, the gelatinised starch in Tangzhong interacts with gluten, inhibiting its development. This controlled gluten development results in a delicate crumb with a light and airy texture, far removed from traditional bread’s dense, chewy characteristics.
Mastering the Tangzhong Technique
Creating the perfect Tangzhong is a simple process, but precision is vital. Here’s a detailed guide to ensure you get it right every time:
- Gather your ingredients: You’ll need equal parts bread flour and water. For example, if using 50 grams of flour, use 50 grams of water.
- Combine and heat: Whisk the flour and water in a saucepan until a smooth slurry forms.
- Cook over medium-low heat: Stir constantly while the mixture cooks. The texture will thicken gradually.
- Observe the changes: As the mixture reaches 65°C (149°F), it will become opaque and glossy. This indicates that the starch has gelatinised.
- Don’t overcook: Remove the saucepan from the heat immediately once the desired texture is achieved. Overheating can negatively affect the final bread texture.
- Cool and incorporate: Allow the Tangzhong to cool slightly before adding it to the remaining bread dough ingredients.
Gathering the Hokkaido Milk Bread Ingredients
Before we embark on the baking journey, let’s gather the essential ingredients that will form the foundation of your Hokkaido Milk Bread. Each ingredient has a specific role in creating the final masterpiece, so choosing the right ingredients is crucial.
Essential Ingredients for a Fluffy Delight
- Bread Flour: This high-protein flour provides the structure for the bread, ensuring it rises beautifully and holds its shape. Use bread flour with a protein percentage of 12-14%.
- Milk: Whole milk is preferred for its rich flavour and fat content, contributing to the bread’s moistness and soft texture. You can use low-fat or skim milk by slightly adjusting the dough hydration.
- Eggs: Eggs act as binders and add richness and flavour to the bread. For optimal results, use large eggs at room temperature.
- Sugar: Sugar provides sweetness and nourishment for the yeast, facilitating proper dough rise. Bakers commonly use granulated sugar, but you can also experiment with honey or other sweeteners.
- Butter: Softened butter adds tenderness and flakiness to the bread. Be sure to use unsalted butter and cream until smooth before incorporating it into the dough.
- Yeast: Instant dry yeast is the easiest to use for this recipe. Activate it by dissolving it in warm milk with sugar before adding it to the remaining ingredients.
- Salt: Salt balances the sweetness of the bread and enhances its overall flavour. Use fine-grained salt and avoid over-salting, hindering the yeast’s activity.
Optional Ingredients for a Personalised Touch
- Honey: Honey adds a subtle sweetness and a touch of golden brown colour to the crust. It can also contribute to the bread’s shelf life.
- Milk Powder: Milk powder enhances the milky flavour and enriches the bread. It also absorbs moisture and prevents the bread from drying out.
- Tangzhong Enhancer: This commercially available product contains enzymes that further enhance the bread’s water absorption and crumb softness.
The Baking Process of Japanese Milk Bread
Now that you have gathered your ingredients, it’s time to begin the magical transformation of flour and liquids into a fluffy Japanese Milk Bread. Let’s delve into the baking process, step-by-step.
Mixing the Dough
- Activate the yeast: First, activate the yeast by dissolving it in lukewarm milk and a spoonful of sugar. Then, leave it to rest for 5–10 minutes until foamy.
- Combine dry ingredients: Put the dry ingredients in a bowl and whisk them.
- Incorporate liquids: Add the activated yeast mixture, beaten eggs, and softened butter to the dry ingredients.
- Knead the dough: Use a stand mixer or your hands to knead the dough until smooth and elastic. This typically takes about 10 minutes.
- Form a ball: Move the dough to a lightly oiled bowl and shape it into a smooth ball.
The First Rise
- Cover and rest: Cover the bowl with a damp cloth or plastic wrap and leave it to rise in a warm, draft-free place for 1–2 hours.
- Observe the transformation: The dough will double in size during this time, indicating successful fermentation. The yeast reacts with the sugar, releasing carbon dioxide gas, which expands the dough.
Shaping the Dough
- Deflate the dough: punch the dough down to release the gas bubbles.
- Shape the loaf: Divide the dough into two equal parts and shape them into your desired shape. Popular options include rectangular loaves or individual rolls.
- Place in pans: Transfer the shaped dough to lightly greased baking pans. Leave space for the dough to rise again.
The Second Rise
- Proofing for perfection: Cover the baking pans with plastic wrap or a damp cloth and leave the dough to rise again for 30–45 minutes.
- Watching the final stretch: The dough will rise further, filling the pan and achieving its final shape.
The Hokkaido Milk Bread Final Transformation
- Preheat your oven: Adjust the temperature to (typically 350°F or 175°C).
- Achieving a golden glow: Brush the tops of the loaves with milk or egg wash for a beautiful golden brown crust.
- Bake until golden: Bake the loaves for the specified time (around 30-40 minutes) or until the internal temperature reaches 190°F (88°C).
- Cooling is key: Transfer the baked bread to a wire rack and leave it to cool before slicing and enjoying.
Japanese Milk Bread Baking Challenges Solved

Even the most professional bakers face challenges from time to time. Don’t worry; we’re here to equip you with the knowledge to troubleshoot common issues and bake a perfect Japanese Milk Bread every time.
Overcoming Dense Crumb
Dough consistency: Ensure your dough was mixed to the correct consistency. It should be smooth and elastic but not sticky. If you find the dough too sticky, add more flour. If it’s too stiff, add a teaspoon of milk at a time.
- Proper kneading: Inadequate kneading can result in a dense crumb. Knead the dough for at least 10 minutes until it becomes smooth and elastic.
- Insufficient rise: Ensure both the first and second rise are done correctly. The dough should double in size during each rise. It can lead to a dense crumb if it doesn’t rise enough.
Taming the Uneven Browning
- Uneven oven temperature: Check your oven’s temperature accuracy. If it runs hot or cold, adjust the baking time accordingly.
- Improper pan placement: Rotate the baking pans halfway through baking to ensure even browning.
- Over-brushing with egg wash: Excessive egg wash can lead to uneven browning. Brush lightly and evenly for a golden brown colour.
Bringing the Dough to Life
- Inactive yeast: Ensure your yeast is fresh and active. If it’s old or expired, it may not rise properly.
- Improper temperature: The dough needs a warm, draft-free environment to rise. A cold environment will slow down the fermentation process.
- Insufficient sugar: Sugar is the food source for yeast. The yeast won’t have enough energy to grow and expand the dough without sugar.
Exploring Delicious Variations and Creative Forms
Once you’ve mastered the classic Japanese Milk Bread recipe, it’s time to unleash your creativity and explore the endless possibilities this versatile bread offers, from incorporating sweet and savoury fillings to shaping it into unique forms.
A Japanese Milk Bread with Flavorful Fillings
- Chocolate Chip Dream: Add chopped chocolate chips or chocolate chunks to the dough for a delightful twist. The melted chocolate creates pockets of gooey sweetness within the soft bread.
- Cinnamon Sugar Delight: Sprinkle a mixture of cinnamon and sugar onto the dough before shaping it. As the bread bakes, the cinnamon sugar creates a golden brown crust with a warm, spiced aroma.
- Fruity Burst: Fold fresh or dried fruits like berries, raisins, or cranberries into the dough for sweetness and texture.
Exploring the Unexpected
- Cheese and Herb Sensation: Add grated cheese and fresh chopped herbs like parsley or chives into the dough for a savoury twist. This bread is perfect for sandwiches or alongside soups and salads.
- Garlic Parmesan Twist: Brush the top of the loaf with melted butter and sprinkle it with garlic powder and parmesan cheese before baking. This creates a flavorful crust with a delightful aroma.
- Spicy Surprise: Add a pinch of cayenne pepper or chilli flakes to the dough for a subtle kick of heat. This bread is perfect for those who enjoy a touch of spice.
Shaping Your Bread with Creativity
- Braided Beauty: Divide the dough into three strands and braid them together before placing it in the loaf pan. This creates a beautiful and impressive presentation.
- Twisted Delight: Divide the dough into two strands and twist them together before shaping it into a round loaf. This adds a touch of whimsy and visual interest to your bread.
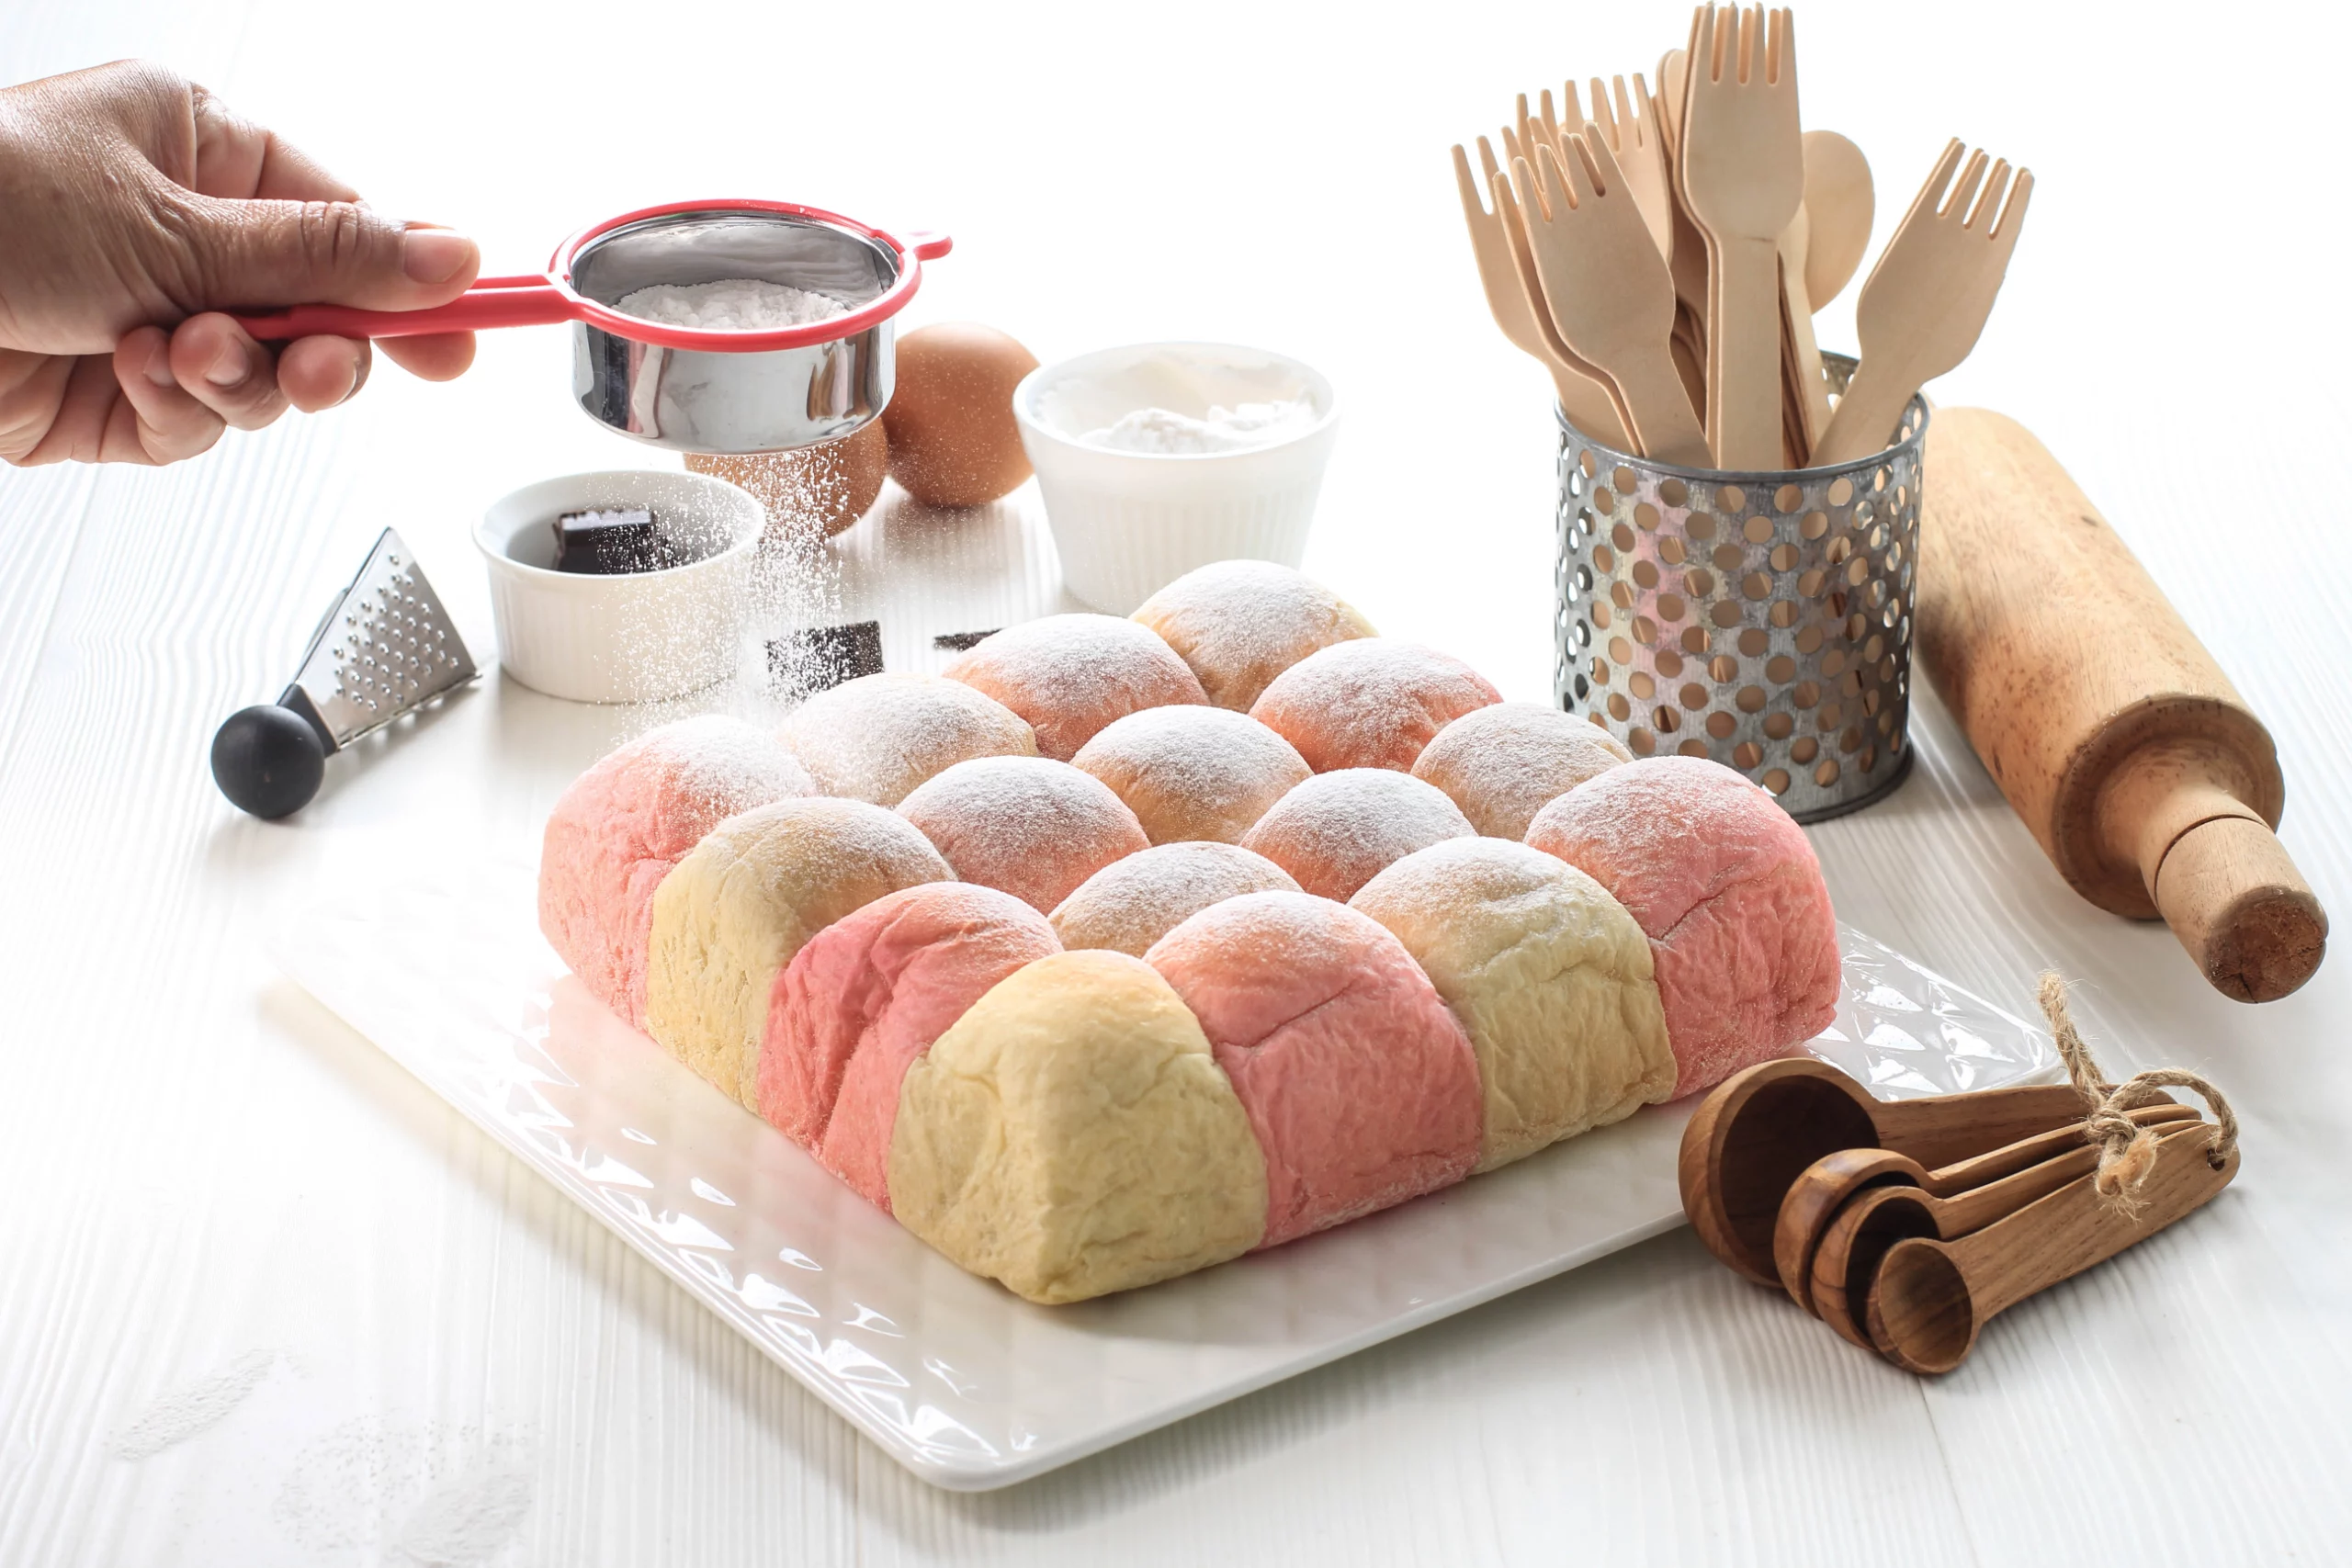
- Pull-Apart Perfection: Divide the dough into small balls and arrange them in a baking pan. The dough balls will rise and connect as they bake, creating a pull-apart bread perfect for sharing.
So, what are you waiting for? Preheat your oven, gather ingredients, and embark on your Hokkaido Milk Bread adventure! With dedication and a little bit of practice, you’ll be baking fluffy perfection in no time. And who knows, you’ll even create your signature variation to share with the world!