Wheat-free recipes offer a world of exciting possibilities for those seeking delicious meals that cater to wheat allergies, sensitivities or simply a desire to explore new culinary frontiers. Embracing wheat-free cooking opens the door to a vibrant tapestry of flavours and textures, proving that taste and dietary restrictions can go hand in hand.
This article delves into the world of wheat-free recipes, providing inspiration and practical guidance for anyone looking to embark on this delightful culinary adventure.
We’ll explore various options, from breakfast creations to hearty main courses and decadent desserts, all guaranteed to tantalise your taste buds without a single grain of wheat.
So buckle up, taste buds: we’re about to set sail on a gastronomic adventure!
Embracing Wheat-Free Cooking
Stepping into a world of vibrant flavours and culinary delights doesn’t require wheat! Whether you have celiac disease, gluten sensitivity, or simply prefer a wheat-free lifestyle, transitioning to a wheat-free kitchen can be surprisingly smooth sailing.
This section will equip you with the knowledge and tools to navigate this exciting culinary adventure.
Understanding Wheat-Free vs. Gluten-Free
While they might seem interchangeable, there’s a key distinction between gluten-free and wheat-free:
Wheat-free
This dietary approach eliminates all foods containing wheat, including wheat flour, wheat bran, and durum wheat.
Gluten-free
This eliminates foods containing gluten, a protein found in wheat, barley, and rye. While most wheat-free options are naturally gluten-free, some non-wheat grains like oats can contain traces of gluten, requiring additional processing to be truly gluten-free.
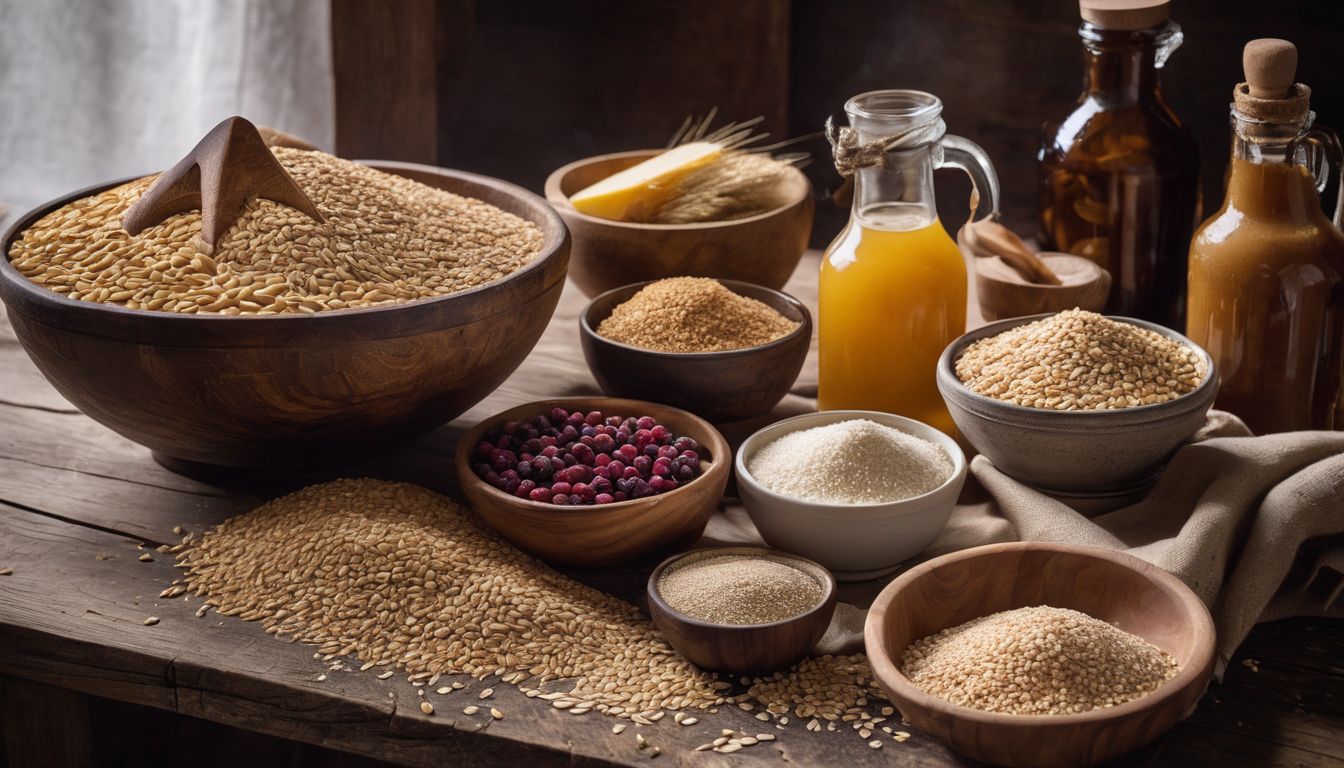
Embracing the Power of Alternative Flours
Diversifying your pantry:Wheat-free flours open a doorway to a world of unique textures and flavours. Popular options include:
Almond flour: Finely ground almonds, perfect for cakes, cookies, and breading.
Coconut flour: Highly absorbent, ideal for thickening sauces and adding a subtle sweetness to baked goods. (Note: Requires additional wet ingredients due to its absorbency)
Chickpea flour (Gram flour) is savoury and slightly nutty, excellent for savoury dishes like pancakes, fritters, and flatbreads.
Unlocking the potential of each flour:
Experimentation is key: Each flour behaves differently. Almond flour creates dense and moist baked goods, while coconut flour requires extra moisture and fat to prevent dryness. Chickpea flour excels in savoury applications due to its binding properties.
Blending is your friend: Combining different flours can yield fantastic results. For example, combining almond and coconut flour creates a lighter cake texture than using just almond flour.
httpss://youtu.be/W-QO_Qdu76I?si=AbjbpKlwJmhhmie0
6 Selections of Wheat-Free Recipes
Who says wheat-free means sacrificing flavour and variety? This section explores the myth with a spectrum of delectable wheat-free recipe ideas, transforming every meal into a culinary adventure.
Breakfast Delights
Kickstarting your day, ditch the toast and embrace the abundance of possibilities.
Wheat-Free Chia Pudding with Berries
This recipe offers a delightful, nutritious, wheat-free breakfast option packed with protein, fibre, and antioxidants.
Ingredients
Base:
½ cup chia seeds
1 ½ cups milk (dairy or non-dairy alternatives like almond milk and coconut milk)
Chopped nuts or seeds (almonds, walnuts, chia seeds, hemp seeds)
Desiccated coconut flakes
A drizzle of honey or maple syrup (optional)
Instructions
Combine the base ingredients: In a bowl or jar, whisk together the chia seeds, milk, sweetener (if using), and vanilla extract (if using).
Stir and refrigerate: Combine everything well. Cover the container and refrigerate for at least 2 hours, ideally overnight. The chia seeds will absorb the liquid and thicken into a pudding-like consistency.
Assemble and serve: Once the chia pudding is set, spoon it into a serving bowl or jar. Top with your favourite fresh berries, sliced fruits, chopped nuts/seeds, coconut flakes, and a drizzle of honey or maple syrup for additional sweetness (optional).
Tips
Add a pinch of cinnamon, nutmeg, or cocoa powder to create a different flavour profile to the base.
For an extra creamy texture, use full-fat milk or coconut milk.
Prepare the chia pudding the night before for a grab-and-go breakfast in the morning.
Leftover chia pudding can be stored in an airtight container in the refrigerator for up to 3 days.
Wheat-Free Coconut Flour Pancakes
These fluffy and flavorful pancakes offer a fluffy and satisfying alternative to traditional pancakes, perfect for a delicious and satisfying wheat-free breakfast.
1/3 cup (80 ml) milk (dairy or non-dairy alternative)
1-2 tablespoons maple syrup (or honey)
1/2 teaspoon vanilla extract (optional)
Instructions
Whisk dry ingredients: In a medium bowl, whisk together the coconut flour, baking powder, baking soda, and salt.
Combine wet ingredients: In a separate bowl, whisk together the eggs, melted coconut oil, milk, maple syrup, and vanilla extract (if using).
Combine wet and dry: Pour the wet ingredients into the dry ingredients and whisk until just combined. Do not overmix, as this can lead to tough pancakes.
Heat the pan: Heat a lightly greased non-stick pan or griddle over medium heat.
Cook the pancakes: Spoon a little less than ¼ cup of batter per pancake onto the hot pan.
Cook until bubbles form: Cook for 2-3 minutes or until bubbles appear on the pancake’s surface.
Flip and cook further: Gently flip the pancakes and cook for another 1-2 minutes or until golden brown on the bottom.
Serve: Serve immediately with your favourite toppings like fresh berries, chopped nuts, a drizzle of honey or maple syrup, or whipped cream.
Tips
The batter might seem thicker than regular pancake batter. Don’t be tempted to add more liquid, as this can result in flat pancakes.
The amount of maple syrup can be adjusted based on your preference.
Maintain medium heat to prevent the pancakes from burning on the outside while ensuring they cook through properly.
Leftover pancakes can be stored in an airtight container in the refrigerator for up to 2 days. Reheat in a pan or microwave for a quick and delicious breakfast.
This recipe offers a delightful twist on classic grilled vegetables, using a vibrant spice blend and naturally wheat-free ingredients.
Ingredients
Vegetables:
1 large courgette (zucchini), cut lengthwise into 1cm (½ inch) thick “steaks”
1 large aubergine (eggplant), cut lengthwise into 1cm (½ inch) thick “steaks”
Spices and Seasoning:
3-4 tbsp olive oil
3 tbsp za’atar spice blend
Zest of 1 orange
Salt and freshly ground black pepper to taste
Sauce:
2 oranges, juiced (approximately 200ml)
2 tbsp maple syrup
1 tbsp tamari (or soy sauce)
Garnish (optional):
Handful of flat-leaf parsley, roughly chopped
Instructions
Preheat the pan: Heat a griddle pan or grill pan over medium-high heat until hot.
Prepare the vegetables: Brush the courgette and aubergine steaks generously with olive oil.
Season with Za’atar: In a small bowl, combine the za’atar and orange zest. Rub this mixture thoroughly onto both sides of the vegetable steaks.
Cook the vegetables: Depending on the size of your pan, add the steaks to the preheated pan in batches. Cook for 5-7 minutes per side or until nicely charred and tender.
Make the sauce: While the vegetables cook, combine the orange juice, maple syrup, and tamari in a saucepan. Bring the mixture to a boil, then reduce heat and simmer for 8-10 minutes or until slightly thickened and syrupy.
Assemble and serve: Transfer the vegetable steaks to a plate or serving dish once cooked. Drizzle generously with the prepared za’atar sauce.
Garnish (optional): Sprinkle with chopped fresh parsley for an extra touch of colour and flavour.
Tips
Ensure the pan is hot enough before adding the vegetables to achieve nice char marks.
Adjust the cooking time based on the thickness of your vegetable slices.
Add a pinch of chilli flakes to the za’atar spice blend for a spicier kick.
Leftover vegetable steaks can be stored in an airtight container in the refrigerator for up to 2 days and reheated in a pan or oven.
Wheat-Free Brussels & Brown Butter Risotto
Here’s a delectable wheat-free Brussels & Brown Butter Risotto recipe, bursting with nutty flavours and textures:
Ingredients
For the Brown Butter:
1 tablespoon unsalted butter
For the Risotto:
1 tablespoon olive oil
1 small shallot, finely chopped
1 garlic clove, minced
1 cup Arborio rice (or another risotto rice like Carnaroli)
½ cup dry white wine (optional)
4 cups hot chicken or vegetable broth (crucial to be wheat-free)
½ cup grated Parmesan cheese
Salt and freshly ground black pepper to taste
For the Brussels Sprouts:
8 ounces Brussels sprouts, trimmed and thinly sliced
1 tablespoon olive oil
Salt and freshly ground black pepper to taste
To Garnish (optional):
Chopped fresh chives
Toasted pecans (optional)
Instructions
Make the Brown Butter: Melt the butter in a small saucepan over medium heat. Swirl the pan constantly until the butter turns golden brown and releases a nutty aroma. Be attentive, as butter can burn quickly. Remove from heat and set aside.
Sauté the Aromatics: Heat the olive oil over medium heat in a separate pot or Dutch oven. Add the shallot and cook for 2-3 minutes, until softened. Stir in the garlic and cook for another minute until fragrant.
Toast the Rice: Add the Arborio rice and cook for 1 minute, constantly stirring, to coat the grains with the oil.
Deglaze with wine (optional): Pour in the white wine (if using) and cook, stirring frequently, until the wine is completely absorbed.
Gradual Broth Addition: Gradually add the hot broth, about ½ cup at a time, stirring constantly after each addition. Allow the rice to absorb the broth before adding more. This process takes about 18-20 minutes, resulting in a creamy and slightly al dente texture.
Seasoning: Once the rice is almost cooked through, stir in the grated Parmesan cheese, brown butter, salt, and pepper.
Cook the Brussels Sprouts: Heat the olive oil in a separate pan over medium heat while the risotto simmers. Add the sliced Brussels sprouts and cook for 5-7 minutes or until tender-crisp—season with salt and pepper.
Assemble and Serve: When the rice is cooked and has a creamy consistency, gently fold in the cooked Brussels sprouts. Taste and adjust seasonings if needed.
Garnish (optional): Serve the risotto immediately, garnished with chopped fresh chives and toasted pecans (optional) for added flavour and texture.
Tips
Ensure the broth remains hot throughout the cooking process, even when cooking the rice.
Consistent stirring helps release the starches from the rice, resulting in a creamy texture.
The rice should be slightly al dente, with a slight bite to it.
The amount of broth needed might vary depending on the type of rice used. If the rice seems too dry, add more broth gradually.
Risotto is best enjoyed fresh. However, leftover risotto can be stored in an airtight container in the refrigerator for up to 2 days. Reheat gently over low heat, adding a splash of broth to achieve the desired consistency.
Dinnertime Dreams
End your day with a delish wheat-free meal.
Wheat-free recipes
Wheat-Free Salmon with Lemon and Herbs
This recipe offers a delightful and simple option for a flavorful and healthy wheat-free dinner.
Ingredients
Salmon:
2 salmon fillets (around 6 oz each)
Salt and freshly ground black pepper
Lemon and Herbs:
1 tablespoon olive oil
1 tablespoon freshly squeezed lemon juice
1 teaspoon dried dill
1/2 teaspoon dried parsley
1/4 teaspoon garlic powder (optional)
Pinch of dried thyme (optional)
Instructions
Preheat the oven: Preheat your oven to 400°F (200°C).
Prepare the salmon: Pat the salmon fillets dry with paper towels—season both sides with salt and pepper.
Make the herb mixture: In a small bowl, whisk together the olive oil, lemon juice, dill, parsley, garlic powder (if using), and thyme (if using).
Coat the salmon: Place the salmon fillets in a baking dish. Brush the prepared herb mixture evenly over the top and sides of the salmon.
Bake: Bake the salmon for 12-15 minutes or until the flesh flakes easily with a fork. The exact cooking time may vary depending on the thickness of your fillets.
Tips
For an extra burst of flavour, use fresh herbs instead of dried ones, such as chopped dill, parsley, and thyme.
Add 1 teaspoon of grated lemon zest to the herb mixture for a brighter citrus flavour.
Pair the baked salmon with roasted vegetables like asparagus, broccoli, or Brussels sprouts for a complete and balanced meal. You can also serve it with a side of quinoa or brown rice.
1 lb boneless, skinless chicken thighs or breasts cut into bite-sized pieces
1 tbsp olive oil or coconut oil
Salt and freshly ground black pepper
Curry Base:
1 tbsp green curry paste (adjust based on spice preference)
1 tsp grated ginger
1 clove garlic, minced
1 red onion, chopped
Coconut Milk:
1 (13.5 oz) can unsweetened coconut milk
Vegetables:
1 (15 oz) can diced tomatoes, undrained
1 bell pepper (red, yellow, or orange), sliced
1 cup broccoli florets
1/2 cup green beans, trimmed and cut into bite-sized pieces (optional)
Seasoning:
1 tbsp fish sauce (or substitute with soy sauce)
1 tbsp lime juice
1 tsp brown sugar (optional)
Fresh cilantro (optional, for garnish)
Instructions
Marinate the chicken: In a bowl, toss the chicken pieces with 1/2 tablespoon of olive oil, salt, and pepper. Set aside to marinate for 15 minutes (optional).
Heat the oil: Heat the remaining olive oil over medium heat in a large pot or Dutch oven.
Sauté the aromatics: Add the green curry paste, ginger, and garlic. Sauté for 30 seconds, stirring constantly, until fragrant.
Cook the onion: Add the chopped onion and cook until softened about 5 minutes.
Sear the chicken: Add the chicken pieces and cook until lightly browned on all sides.
Deglaze the pan: Pour in the coconut milk and scrape up any browned bits from the bottom of the pan.
Add vegetables: Stir in the diced tomatoes, bell pepper, broccoli, and green beans (if using).
Seasoning: Add the fish sauce, lime juice, and brown sugar (if using). Bring to a simmer.
Simmer and thicken: Reduce heat and simmer for 15-20 minutes, or until the chicken is cooked through and the vegetables are tender. The sauce should slightly thicken as it simmers.
Adjust flavours: Taste and adjust seasonings with additional salt, pepper, fish sauce, or lime juice as needed.
Tips
Green curry paste can vary in spiciness. Adjust the amount used based on your preference. Add a pinch of red pepper flakes for an extra kick.
Shrimp, tofu, or chickpeas can be used instead of chicken for vegetarian or vegan options. Adjust the cooking time accordingly.
For a complete meal, serve the coconut curry chicken over cauliflower rice, brown rice, or quinoa. Garnish with fresh cilantro for added flavour and colour.
Conclusion
Unveiling a world of vibrant flavours and culinary delights doesn’t require wheat! This comprehensive guide has equipped you with the knowledge and resources to navigate a wheat-free lifestyle confidently. Embrace the unique challenges and discover the immense satisfaction of creating delicious and healthy meals that cater to your dietary needs. Remember, a little practice and a dash of creativity go a long way in this exciting culinary adventure.


 Shaimaa Olwan
 Asmaa Alhashimy