More and more people are seeking wheat-free barley bread due to allergies, sensitivities, or simply a desire for dietary diversity. Wheat may be the king of the bread aisle, but the crown is starting to wobble. Enter barley, a rising star offering a unique grain option. With its impressive nutritional profile and rich, nutty flavour, barley holds immense potential for crafting delicious and satisfying bread.
However, barley presents a baking challenge: it lacks the gluten that gives traditional bread its airy rise. But fear not, bread enthusiasts! This limitation opens the door to exciting possibilities. We’ll explore both leavened and unleavened approaches, revealing the distinct charm of each. Whether you crave soft, fluffy slices or crisp, flavorful flatbreads, wheat-free barley bread has something for everyone.
Key Takeaways
Barley bread is a delicious and nutritious alternative for people with wheat allergies or intolerances.
Barley bread is safe to eat for individuals with wheat allergies or sensitivities as it does not contain any wheat.
Barley bread has lower gluten content compared to wheat bread, making it a good choice for those who want to reduce their gluten intake.
Barley bread is rich in fibre and nutrients, which can benefit digestive health and overall well-being.
Benefits of Barley Bread (Wheat-Free)
Barley bread (wheat-free) offers numerous benefits, making it a great choice for individuals with wheat allergies or intolerances. So, ditch the wheat and join us on a journey into the delightful world of barley bread. We’ll unveil its secrets, guide you through different baking methods, and inspire you to experiment with a variety of flavours and textures.
Suitable for Individuals with Wheat Allergies or Intolerances
Barley bread is perfect for people who can’t eat wheat. It doesn’t have any wheat in it. That makes it safe for anyone with a wheat allergy or intolerance to enjoy. It won’t make them feel sick or uncomfortable.
This barley-based bread lets them have great-tasting bread without the worry of health issues from wheat. Having these options means they don’t need to miss out on the joy of fresh, warm bread as part of their meals, snacks, or celebrations. So even if you can’t eat wheat, delicious and nutritious food is never off the table.
Lower in Gluten Compared to Wheat Bread
httpss://www.youtube.com/watch?v=YKdgyl1yhSQ
Barley bread is a great choice for people who want less gluten in their diet. It has lower amounts of this protein than wheat bread. Gluten can cause tummy problems for some, especially those with Celiac disease or gluten sensitivity. So, choosing barley bread can be kinder to your gut.
Though it contains some gluten, barley provides many health benefits. Its high fibre and nutrient content make it a smart pick! Barley bread also tastes good and goes well with many meals. Switching wheat to barley might just become your new favourite move!
Rich in Fibre and Nutrients
Barley bread loves your body. It fills you with lots of fibre and useful things. Fiber helps to keep your belly happy and stop hunger pangs. It also keeps harmful stuff like bad cholesterol at bay. Barley packs a punch in the nutrient war too! It’s got vitamins, minerals, and magic bits called antioxidants that help guard your health.
This grain is tiny but mighty! It fights for heart health by lowering blood sugar levels thanks to ‘beta-glucan’, a special kind of fibre in barley. Plus, it can aid in stopping some types of cancers and keep swelling down in our bodies. All this from wheat-free barley bread that tastes amazing as well! Eating food should be fun, after all, not a chore.
Unleashing the Magic with and without Yeast
Barley might lack the gluten superpower of wheat, but that doesn’t mean it can’t shine in the bread-making arena! We’ll delve into two exciting approaches: yeasted and unleavened, each offering its own unique charm.
Leavened Bread
The Gluten Conundrum: Traditional yeasted bread can be tricky without gluten’s stretchy magic. But worry not, intrepid bakers!
Boosting Bouncy Bites: We’ll explore options like commercially available gluten substitutes or psyllium husk to mimic the elasticity and structure missing from barley flour alone.
Recipe Rendezvous: Buckle up for a quick peek at a classic yeasted barley bread recipe, highlighting key steps like activating the yeast, incorporating the gluten substitute, and achieving that perfect rise.
Unleavened Bread
Simplicity Reigns Supreme: Forget the yeast! Unleavened bread offers a refreshingly straightforward approach, making it perfect for novice bakers or those short on time.
Global Delights: From crispy flatbreads to hearty crackers, we’ll showcase the diverse world of unleavened barley bread, each with its own distinct flavour and texture.
Culinary Canvas: Dive into an easy-to-follow unleavened barley bread recipe, highlighting key steps like mixing the dry ingredients, adding water to form a dough, and baking to perfection.
Variations and Tips: Unleash Your Inner Barley Bread Maestro
Barley flour is just the base for your wheat-free baking playground. Let’s explore ways to elevate your creations:
Flour Fantastic
Nutty Notes: Experiment with almond, chickpea, or oat flour for added texture and subtle flavour profiles.
Sweet & Savory: Consider blends like teff-barley or coconut-barley for unique flavour combinations.
Fibre Power: Add a touch of flaxseed meal for extra fibre and a slightly denser texture.
Texture Twists
Moisture Matters: Use warm water or milk in your dough to enhance moisture and softness.
Fat Factor: Opt for olive oil, butter, or even mashed avocado for richness and crumbliness.
Leavened Lift: Don’t overmix the dough – gentle folding helps maintain air pockets for a lighter crumb.
Unleavened Magic: Play with water content to achieve thin, crispy flatbreads or thicker, chewy crackers.
Flavor Fiesta
Herb Haven: Rosemary, thyme, or oregano add freshness, while dill or chives bring a savoury touch.
Spice it Up: Cumin, coriander, or even a touch of chilli flakes can add warmth and depth.
Sweet Treats: Dried fruit, chopped nuts, or a sprinkle of cinnamon turn your bread into a delicious dessert.
Other Tips
Start with small additions of additional flours or ingredients to adjust the taste and texture to your liking.
Experiment with different baking times and temperatures to find your perfect level of doneness.
Embrace the unique texture of barley bread – it might not be identical to wheat bread, but that’s part of its charm!
With these tips and variations, you’re ready to explore a whole new world of possibilities. So, get baking, experiment, and discover the hidden gem of wheat-free barley bread!
Barley bread is a tasty treat that’s easy to make. Here are the ingredients you’ll need for wheat-free barley bread:
2 cups of barley flour: This is our main ingredient. It is full of fibre and other good things.
1 tablespoon of honey: Honey will add a touch of sweetness to our bread.
1 teaspoon of salt: Salt brings out all the other flavours in your loaf.
2 teaspoons of baking powder: This helps the dough rise and go fluffy when it’s baking.
1/4 cup of oil: Oil keeps the dough moist and soft.
1 cup of warm water: Warm water brings all the ingredients together into a smooth dough.
Step-by-step Instructions on How to Make Barley Bread
We love making barley bread. It is tasty and good for you. Here’s how you make it:
Get all your stuff. You need warm water, yeast, honey, barley flour, and whole-wheat flour.
Start by warming up some water. This step wakes up the yeast.
Then, add two teaspoons of yeast to the water.
Wait a bit until the yeast gets frothy or bubbly.
Now, add four tablespoons of honey to this mix.
Put three cups of barley flour and one cup of whole wheat flour in another big bowl.
Make a hole in the middle of these flours and pour in the yeast mix.
Stir everything with a spoon until it forms a dough.
Put the dough on a floured table and knead for about 10 minutes.
After kneading, form the dough into a loaf shape and place it in a loaf pan.
Let the dough rest for about an hour to rise well.
Then bake it in your oven at 200° Celsius for 30-35 minutes until it turns golden brown.
Tips for Making the Perfect Barley Bread
To achieve the perfect barley bread, start by selecting high-quality barley flour that is suitable for baking.
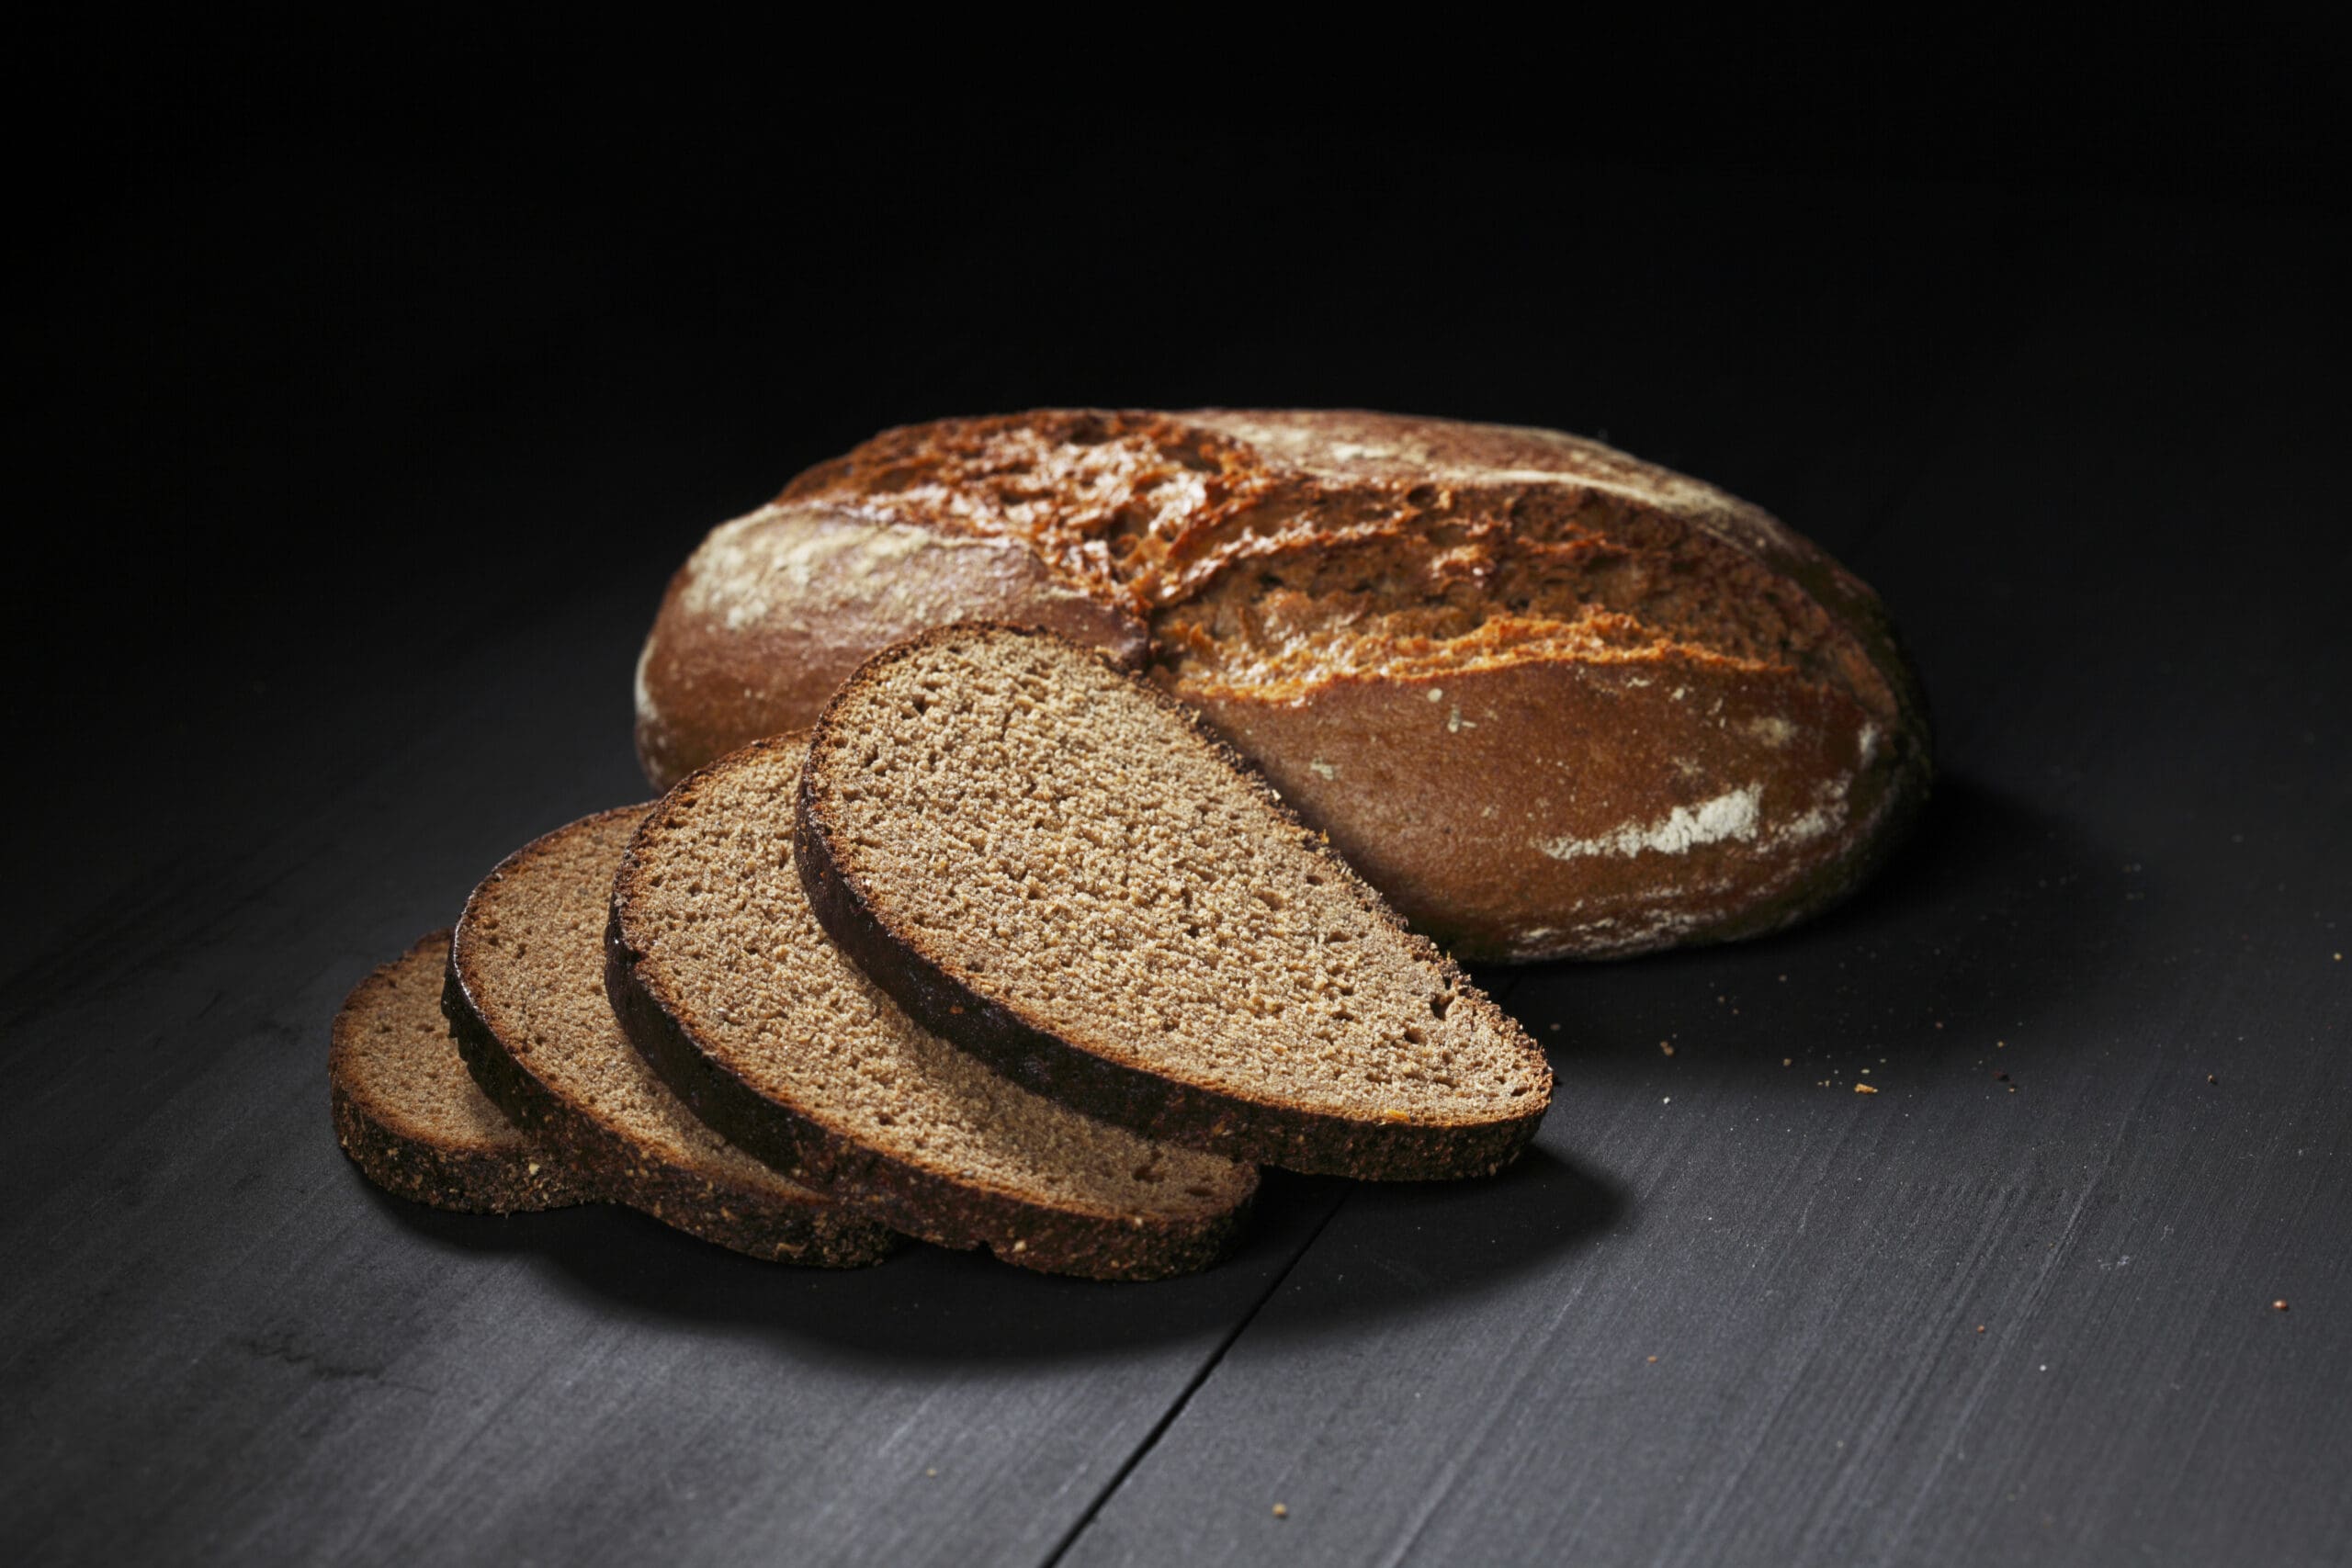
Sliced wheat-free barley bread
Choosing the Right Barley Flour
Picking the best barley flour is key for perfect barley bread. Not all flours work the same way. Barley flour stands out as a top pick for wheat-free baking. It brings a rich, nutty taste to your bread. You can also use rice flour in place of barley flour if you need to. Ensuring your chosen gluten-free blend keeps it safe for those with dietary needs.
Adding Additional Ingredients for Flavour and Texture
Try adding other things to your barley bread mix for an extra kick of taste. Rice flour is a good pick. It has a light flavour and adds a nice texture. You can also use buckwheat flour for more body and taste in the bread.
Mixing barley and rye flour can help stop the loaf from getting too heavy or sticky. This combo makes full-bodied, rustic bread that tastes great! Another plus – these add-ins up the health factor even more! Just be sure not to use wheat flour if you need to keep it gluten-free.
Proper Baking Techniques
We love baking barley bread because it’s a great wheat-free option. Here are some tips to help you make the perfect barley bread:
Use wholegrain flour like spelt, oat, or naked barley for a healthier choice.
If using naked barley flour, you can bake pure naked barley bread without any other flour.
Rye flour can be added to create a dense texture in rye bread, but it’s often combined with wheat flour.
Try combining wheat flour and barley flour for a soft and delicious loaf. We recommend whole wheat and barley bread.
If you’re looking for a quick and rustic option, try yeast-free barley bread recipes.
Storage and Freezing Options for Barley Bread
Storing and freezing your wheat-free barley bread is a vital way to keep it fresh for longer.
How to Store Barley Bread to Maintain Freshness
We store barley bread in an airtight container or a food bag to keep it fresh. This helps to protect it from moisture and pests. Some barley bread loaves may be better off in the fridge or a cool place. We can store it in the freezer if we want to extend its shelf life. It’s vital to keep barley bread in a cool and dry area to stay fresh for longer.
Freezing Instructions for Long-term Storage
If you want to freeze barley bread for long-term storage, there are a few things you need to know. Here are some freezing instructions and tips that can help:
Ensure the bread is completely cooled before freezing it.
Wrap the bread in a wrap or aluminium foil.
Add the date of freezing on the bag.
Place the bag in the freezer and ensure it is stored upright to prevent any damage to the bread.
Keep the temperature of your freezer at or below -18° Celsius for optimal storage.
Note:
Freezing can affect yeast viability, which may impact the quality of your bread when it is thawed.
The texture and taste of barley bread may change slightly after freezing, but eating it should still be enjoyable.
To maintain freshness, consuming frozen barley bread within three months is recommended.
Other Wheat-Free Bread Recipes
Explore the delicious variety of wheat-free bread options, from gluten-free rye bread to spelt bread and beyond – you won’t be disappointed! So why wait? Let’s dive into these mouthwatering recipes!
Explore Other Wheat-free Bread Recipes for a Variety
If you want to try different types of wheat-free bread, here are some options:
Rye Bread: In bread recipes, rye flour can be used as a wheat alternative. It has a slightly different flavour and denser texture compared to wheat bread.
Sourdough Bread: Sourdough is made by fermenting dough using natural yeast. This process gives the bread a unique tangy flavour and a chewy texture. Look for wheat-free sourdough recipes.
Butternut Squash Bread: Instead of using grains, you can use butternut squash puree as a base for bread. It makes the bread more moist and sweet, making it a delicious alternative.
Sweet Potato Bread: Similar to butternut squash, sweet potato puree can substitute wheat flour in bread recipes. It provides a soft texture and natural sweetness.
Oat Bread: While oats contain gluten, they are often well-tolerated by individuals with wheat sensitivities or mild allergies. Look for certified gluten-free oats to make sure they are safe for consumption.
Discover Different Flavours and Textures in Wheat-free Bread Options
We’re excited to share with you the world of wheat-free bread options! There are so many different flavours and textures to discover, making it a delicious and satisfying alternative for those with wheat allergies or intolerances.
With recipes like quinoa bread and buckwheat bread, you can enjoy the goodness of gluten-free grains while still indulging in a tasty slice of bread. These wheat-free options offer a new and exciting twist on traditional bread, providing individuals with dietary restrictions a chance to explore different flavours and textures. So why not give them a try? You might just find your new favourite loaf!
Conclusion
Barley bread is a delicious and nutritious alternative for those with wheat allergies or intolerances. With its lower gluten content and high fibre content, it’s a great option for people looking to avoid wheat in their diets. Now, you can make your own tasty barley bread at home.
FAQs
1. Is the barley bread recipe wheat-free suitable for people with gluten intolerance or celiac disease?
Yes, barley is a gluten-containing grain, so the barley bread recipe is not suitable for individuals with gluten intolerance or celiac disease.
2. Can I substitute wheat flour with barley flour in a bread recipe?
Yes, you can substitute wheat flour with barley flour in a bread recipe to make it wheat-free. However, keep in mind that the texture and taste of the bread may be different.
3. Where can I find barley flour for my wheat-free bread recipe?
Barley flour can usually be found in health food stores or some grocery stores that carry speciality flour.
4. Are there any special tips for baking delicious and successful barley bread without using wheat?
Some tips for baking successful barley bread without using wheat include ensuring proper hydration of the dough, adding extra moisture if needed due to the lack of gluten, and experimenting with different ratios of other grains or flours to achieve the desired texture.
5. Does making barley bread at home require any special equipment?
Making barley bread at home does not require any special equipment beyond what is typically used for baking regular yeast-based bread, such as mixing bowls, measuring cups/spoons, and an oven.

-102152743.jpg "A close-up of freshly baked barley bread surrounded by whole barley grains.")


 Asmaa Alhashimy
  Wheat-Free Barley Bread,Barley bread")